
Recover My Files V3.1 (R)
Following is a Quick Start Guide to using Recover My Files. For more detailed information see the section in this help file titles "The Steps to File Recovery".
Recover My Files can be run directly from CD. Insert the CD into your computer and click the "Run From CD" option in the program start-up window.
If you are installing Recover My Files, avoid installing Recover My Files on a drive from which you are trying to recover deleted files (use the run from CD option first). Form more information on installing Recover My Files, click here.
When you run Recover My Files a wizard screen will open and present you with three search options; 'Fast Search', 'Complete Search'; or 'Format Recover'. We suggest you try a "Fast Search" first, as this search may well find your files within 20 minutes. If you do not locate your files with a Fast Search, then try a "Complete Search" or if you have formatted your hard drive, select the 'Format Recover' option and follow these instructions. Click next to proceed to the next wizard screen.
Wizard Screen 1 - Selecting the type of search
The next wizard screen performs a scan to identify the devices (hard drives, digital camera, USB drive etc) that are connected to your computer. Select the device you wish to search by using your mouse to place a green tick in the box next to the device name.
Wizard Screen 2 - Selecting the device to search
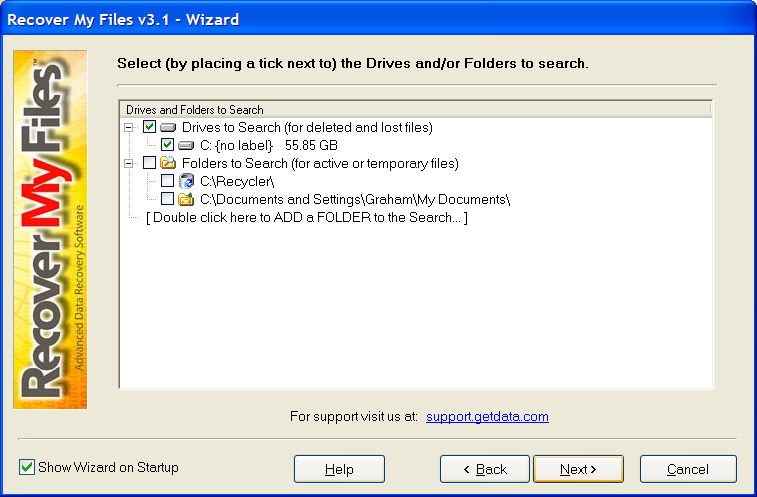
If your drive is corrupt, you may not be able to see the "logical" drive letter (eg. Drive "D:\"). You can go to the main program screen, click OPTIONS, and place a tick in the box for "Allow searching of Physical Drives". When you return to the screen above, it will now show you the "Physical Drives" connected to your computer (NB: Drive C: is usually located on Physical Drive 0).
The "Folders to Search" option allows you to add existing folders into your search. Doing this will allow you to search the 'active' files on you disk (i.e. those that are not deleted). You may wish to do this in order to search for temporary files created by programs such as Microsoft Word. To remove a folder from this list, double click on it.
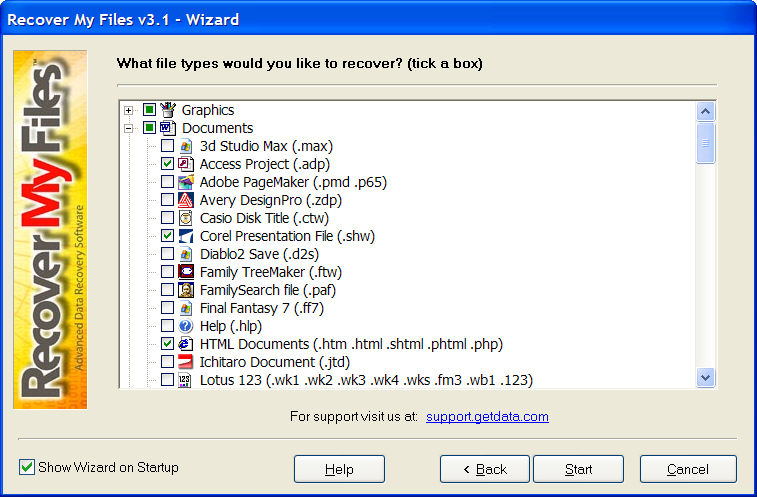
The next wizard screen asks you to select the "File Types" that you are trying to recover. Select a file type by using your mouse to place a green tick in the box next to it.
WARNING: The number of file types selected will directly impact the speed of the search. We suggest you select between 1 and 10 files. MP3 and Text files are the slowest. Conduct a separate search for these files.
In the results screen files found will be sorted by file type selections that you have made here. All other files types located will be shown in the results screen as in the "other deleted files" folder.
Wizard Screen 3 - Selecting the Specific File Types for which to Search
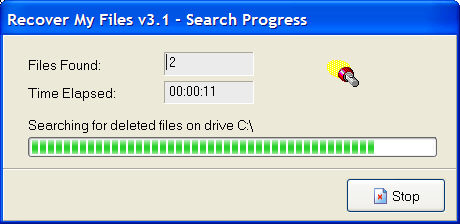
When the 'start' button is pressed the search is commenced. Note that a "Complete Search" and a "Format Recover" may take a number of hours as they are a scan of your entire storage media.
It is possible to preview the search results whilst the search is in progress. Move the progress box out of the way and access the search results screen behind it.
Running the Search
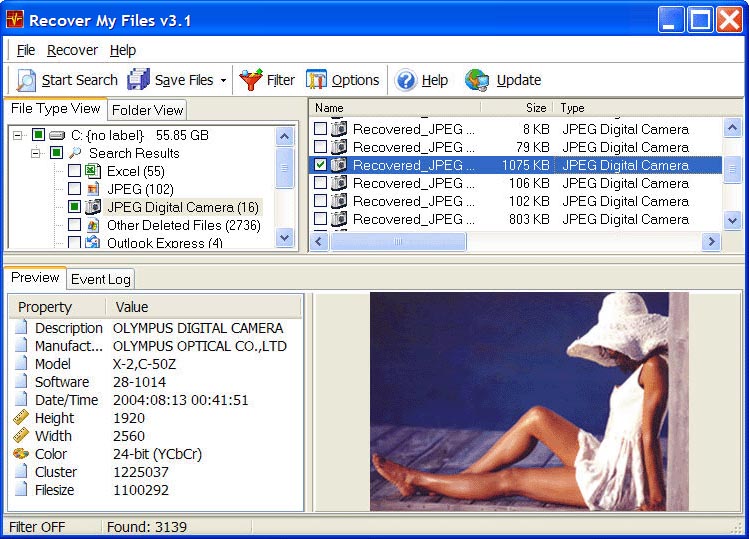
The results screen consists of four windows.
File Type and Folder View window (top left): This window shows you the number of deleted files that have been found (e.g. 16 JPEG Digital Camera photos have been found in the screen shot below). Files located are grouped by the File Types you selected in Step 4 above. You can also change to "Folder View" and see in a folder structure the files that have been found. Any file types not specifically selected in Step 4 above are placed in the "other deleted files" folder.
File Details Window (top right): When a File Type is select in the left hand windows, the files found (in the case of the screen capture, the 16 JPEG Digital Camera files) are displayed in the File Details window. Sort the files in this window by double clicking on the column headings. When a file is selected in this window, by clicking on the file name, its properties and contents are displayed in the windows below.
File Properties Windows (bottom left): This window displays the properties, e.g. "Olympus Digital Camera" of the file that has been selected in the File Details window above.
Preview Window (bottom right): If a preview is available, the contents of the file are displayed Files found are grouped by file type in the left hand column (any files that are found that do not belong to a file type that you selected are placed in the "Other Deleted Files" folder). Click on the file type in the left and column to display the files found for that type in the right hand column. Click on an individual file in the right hand column to see its properties and a preview of its contents (if available) in the bottom windows.
The Results Screen
You must enter the program activation key in order to save files. The program activation key is provided in the software box with the other documentation. To enter the registration key click 'Help' (in the top most menu) and then 'Activate Product'.
Select files to be saved in the results screen (either File Type or Folder View) by placing a tick next to the file. Groups of files can be selected by clicking on the File Type (it will place a tick in the box for all the files found of that type). Also it is possible to select place multiple ticks in file boxes by using a combination of mouse clicks whilst holding down the SHIFT or CTRL key, and then pressing SPACE BAR.
To save selected files click the save button. You must save files to a separate storage media to the one on which file are being recovered, such as another hard drive or a writeable CD or DVD. Click on the drop down arrow next to the "Save Files" button, or select "Recover" then "Save to CD/DVD" to save to CD or DVD.